Every Windows server runs a seemingly ever increasing number of services which range from built-in services providing core Windows functionality (e.g. Print Spooler, Bitlocker, WMI) to 3rd party services added when installing 3rd party software (e.g. various software update services, MySQL) – all of which run in the context of a specific user account.
For example, Windows Server 2012 includes more than 300 services, about half of which are automatically running (this particular server has SQL Server installed as well):
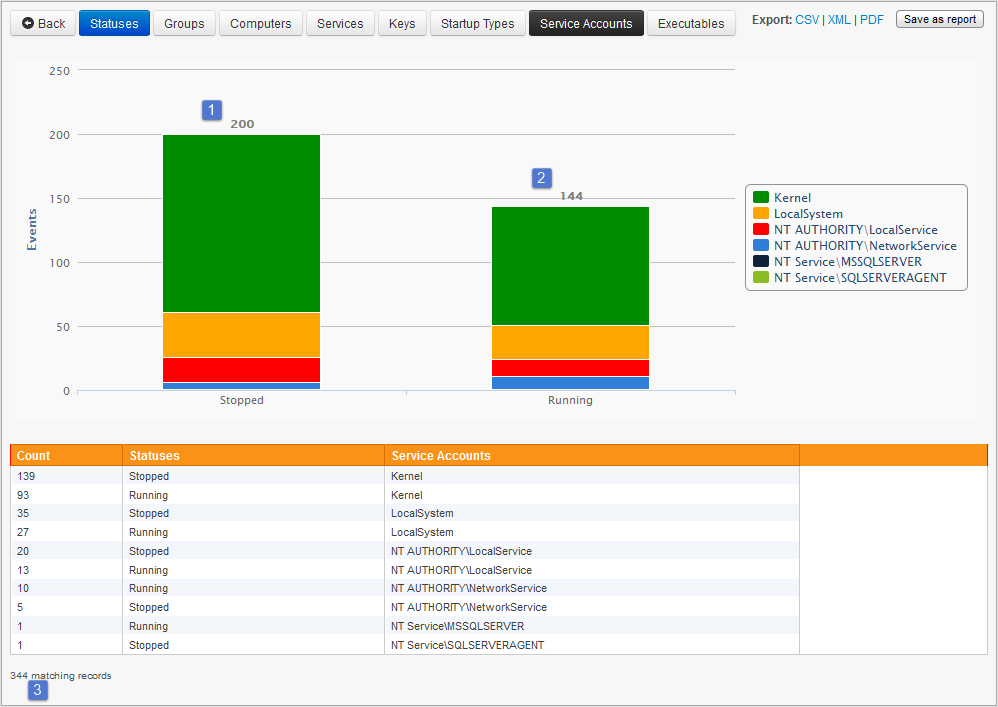
That user account is either a built-in security principal of Windows (e.g. NetworkService), a user account specifically created for that service, or another user account from the server or domain.
Common Practices
Services should always run under a user account which has the least amount of privileges necessary to do its job. It’s common, and often tempting, to run a service an administrative account like “Administrator”. While this often the easiest way to “get it working”, it’s also the least secure.
When a service runs under the “Administrator” account – especially if it’s the domain Administrator account – the service has almost unrestricted access to all resources on the host or, in case of a domain admin, on the domain. This is not something a service usually needs nor you want. It also means that the service will stop working whenever the password of the Administrator account is changed (the service will continue to work until it is restarted).
Less is Better
Whenever possible, try to use one of the built-in security principals available in Windows to run a service under, or create a specific user account for the service. For example, if you have a file synchronization app which runs as a service, create a “ServiceFileSync” or similar account and configure the service to run under that account. Carefully examine the rights the service requires, and only assign those privileges to the user account which the service actually needs.
When creating the user account, give it a very strong & complex password. Users won’t have to log on with that user account, so the password can be complex and long. You can optionally check the “password does not expire” option if you feel that the password is sufficiently secure and you have a short password expiration policy on your domain which could interfere with the service starting after the password expired.
In domain environments I also recommend giving those user accounts (since you will most likely end up with more than one) either a common prefix or suffix (e.g. svc_mysql) and/or moving the accounts into a specific OU. This makes managing and distinguishing these accounts easier – especially in teams with more than one SysAdmin.
The quick way: Local Services grouped by User Account
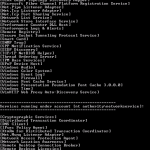
To view all locally installed services grouped by the user account they are running under, download the EventSentry SysAdmin Tools and just run srvsec.exe. This will show you all locally running services, and group the output by the user account they are running under. Srvsec can also be pointed at a remote host, and can also change the passwords stored in services. Click here for more information on srvsec.
Srvsec is a great tool to quickly see what’s going on a single host, but to manage services on an entire domain effectively a more scalable solution is available: EventSentry + AutoAdministrator – the dynamic duo!
The right way: Making sense of ALL installed services
Even when passwords for service accounts are sufficiently strong, they should still be changed on a regular basis. But which services are installed where and are using which service account?
If this is your first time examining service accounts on your network, you should first identify which services run under which user accounts. EventSentry’s service monitoring feature combined with the web-based reporting really makes this a breeze. Assuming that you have a service monitoring system health package assigned to all of your servers, you can simply open the web reports and navigate to Status – Services and get a birds-eye view of all installed services.
In the Overview view, all installed services are grouped by common attributes, including startup type (automatic startup services vs manual startup services), current status, service name and, most importantly for this post, the service user account.
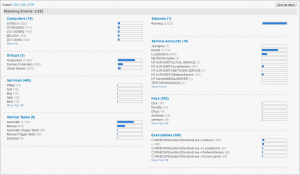
Click the “Show All” link to see all user accounts, or click on a specific user account (e.g. “LocalSystem”) to filter the list and only show services running under this specific user account. In most cases you will want to click on “Detailed” to see a list of all services with more detail.
In addition to filtering and viewing details, you can also click on the header of the
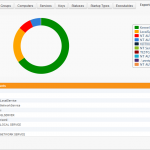
username (or any other) column to see a chart depicting all user accounts used by services from all monitored servers and workstations.
Any report viewed in the web reports can also be scheduled with a job, e.g. a list of all user accounts used by services could be emailed daily/weekly. Simply click the “Save as Report” link to create a report and setup a job.
Managing Services
The standard way to configure the user account and password used by a service is through the “Services” application in Windows. This works well for one or two servers, but not when you need to update the password for a service on multiple hosts.
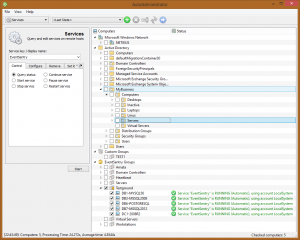
This is where AutoAdministrator comes in: A free graphical tool which lets you do just that (and quite a bit more): Update the username and/or password of a service on multiple servers in a domain or work-group. Since AutoAdministrator is multi-threaded, even tasks affecting a large amount of hosts usually only take a few seconds.
To update the stored password of a service, open AutoAdministrator and select “Services” from the drop-down list on the top left.
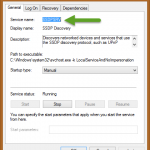
Next, select the service you wish to update from the “Service key / display name” drop-down. If the service is not listed, simply specify the service key name in the service field. The key name is the internal name used by the service and can be obtained by double-clicking a service name in the “Services” MMC application in Windows.
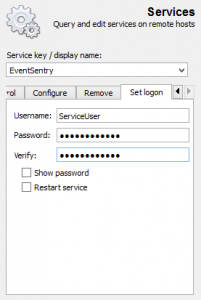
Next, click on the “Set logon” tab and specify the new username and/or password. Of course you can also specify other service actions, such as restarting the service or changing the start-up type.
As the next step, select the hosts you wish to apply the selected changes to. You can select hosts from Active Directory, EventSentry, custom groups or work groups (Microsoft Windows Network).
Once the correct hosts are selected, click the “Start” button. The number of hosts which will be affected by any action is always shown on the bottom right of the application.